How To Remove/Install The BMX Brakes?
Riding a BMX without brakes has become somewhat of a fad over the years. It has evolved from being a solution to a problem to people demonstrating their ability to ride skillfully while managing their pace correctly without the need for stopping power.
Riding without BMX brakes can aid with some tricks, such as barspin and tailwhip, where the frame and bars must revolve 360 degrees around one other, however having a brake line in the way limits the amount of times you can do this without resetting it. However, most individuals these days will remove their brakes in order to learn how to handle their bike. Riding a BMX bike without brakes might get you in trouble.
 |
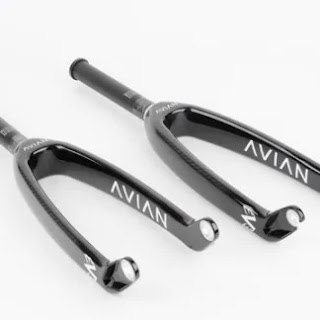
| BMX Forks |
Ways to install/remove the BMX brake
First and
foremost, check your frame. You must ensure that you have the proper brake
mounts for the type of brake you are installing. Normally, you won't have any
issues, but certain motorcycles do not come with permanent brake mounts, so
it's a good idea to double-check.
The following
step is to secure your callipers to the frame. Keep your wheel on your bike or
you'll have difficulty reinstalling it. Ascertain that
you have the right calliper side and simply slip it into the pre-greased brake
mounts one on each side of the wheel.
The following
step is to line the brake pads with the rim & BMX forks. If
they aren't already attached to the brake arms, do so immediately; it's a
simple process that only requires tightening a bolt. Before tightening
entirely, line the brake pads by pushing both sides of the brake calliper
against the wheel rim.
A U-Brake is normally configured with a tiny piece of brake wire running from one arm, around the seat tube, and attaching to the opposite brake arm. This wire is then wrapped around the cable hanger at the end of the brake wire, which runs the length of the bike down from the lever. The connecting hanger pulls the looped brake cable, pinching the arms together and forcing the pads onto the rim.


Comments
Post a Comment